In order to enjoy a productive morning in my basement studio, I must deplete the excess energy my studio “helper” carries. Otherwise it is impossible to get anything accomplished.
I’ve tried to take care of this in a room better suited for these activities but, um, she won’t have it. So I just have to roll with it.
I’ve one more bag iteration to complete later today and then I’m finished with the design portion of this project which was kind of the fun part. Next to the more difficult part, the pattern writing. Ugh.
I’ve been thinking of coming back to my blog for some time now. Social media has become somewhat problematic, specifically Facebook. I’m not sure blogging will be a good fit, but I’m willing to give it another go.
Current weaving. A modified version of Strickler #234
What have I been up to? I am currently weaving some cotton fabric, a turned twill, to use as yardage for sewing bags. And I’ve been drafting my own bag patterns. These patterns are nothing earth shattering or clever. In fact they are rather basic. There are a million bag patterns online, some free, some for sale. I’ve purchased several and sewed them up. They’ve taught me a great deal about bag construction and choices of interfacing. And in the past few years I’ve been sewing bags using my own handwoven fabric! So much fun and quite rewarding.
Fast forward to now and my next move. I’ve been hired to put together an episode for Jane Stafford’s School of Weaving on sewing bags using your handwoven fabric! Eeek! I’m a bit nervous for various reasons, but Jane is a pro as well as a dear friend and I can do this. I’m super excited!
Remember that silly shower curtain “muslin”? It served its purpose, so into the rag bag it went. Time to cut the pattern out on a nice piece of heavy denim I’d purchased awhile ago. True confession time: I had no idea what I would make using this piece of denim, but it was nice, the price was right, and I knew it would work for something!
The jacket has been nearly finished for a week and a half, waiting on the buttons I’d ordered to arrive. Once the buttons arrived, I sat down to sew some buttonholes. But I’d not used my newer machine to make many buttonholes, so I attempted a few trial runs. I had been fighting my machine a little bit, I’d done all the maintenance and it was working, sort of. It was not working well enough to create buttonholes, sadly. And it’s time for a spa day at the maching shop, so I’ll take it north a bit later this summer.
Now what to do? Time to pull out my trusty and dusty 33 year old Viking. I do love this machine, it’s such a workhorse! But it was not designed to work with a walking foot, so it’s not good for bag sewing. But it makes very nice buttonholes!! I’d not powered it up in a few years, so I crossed my fingers and plugged it in. All good to go!
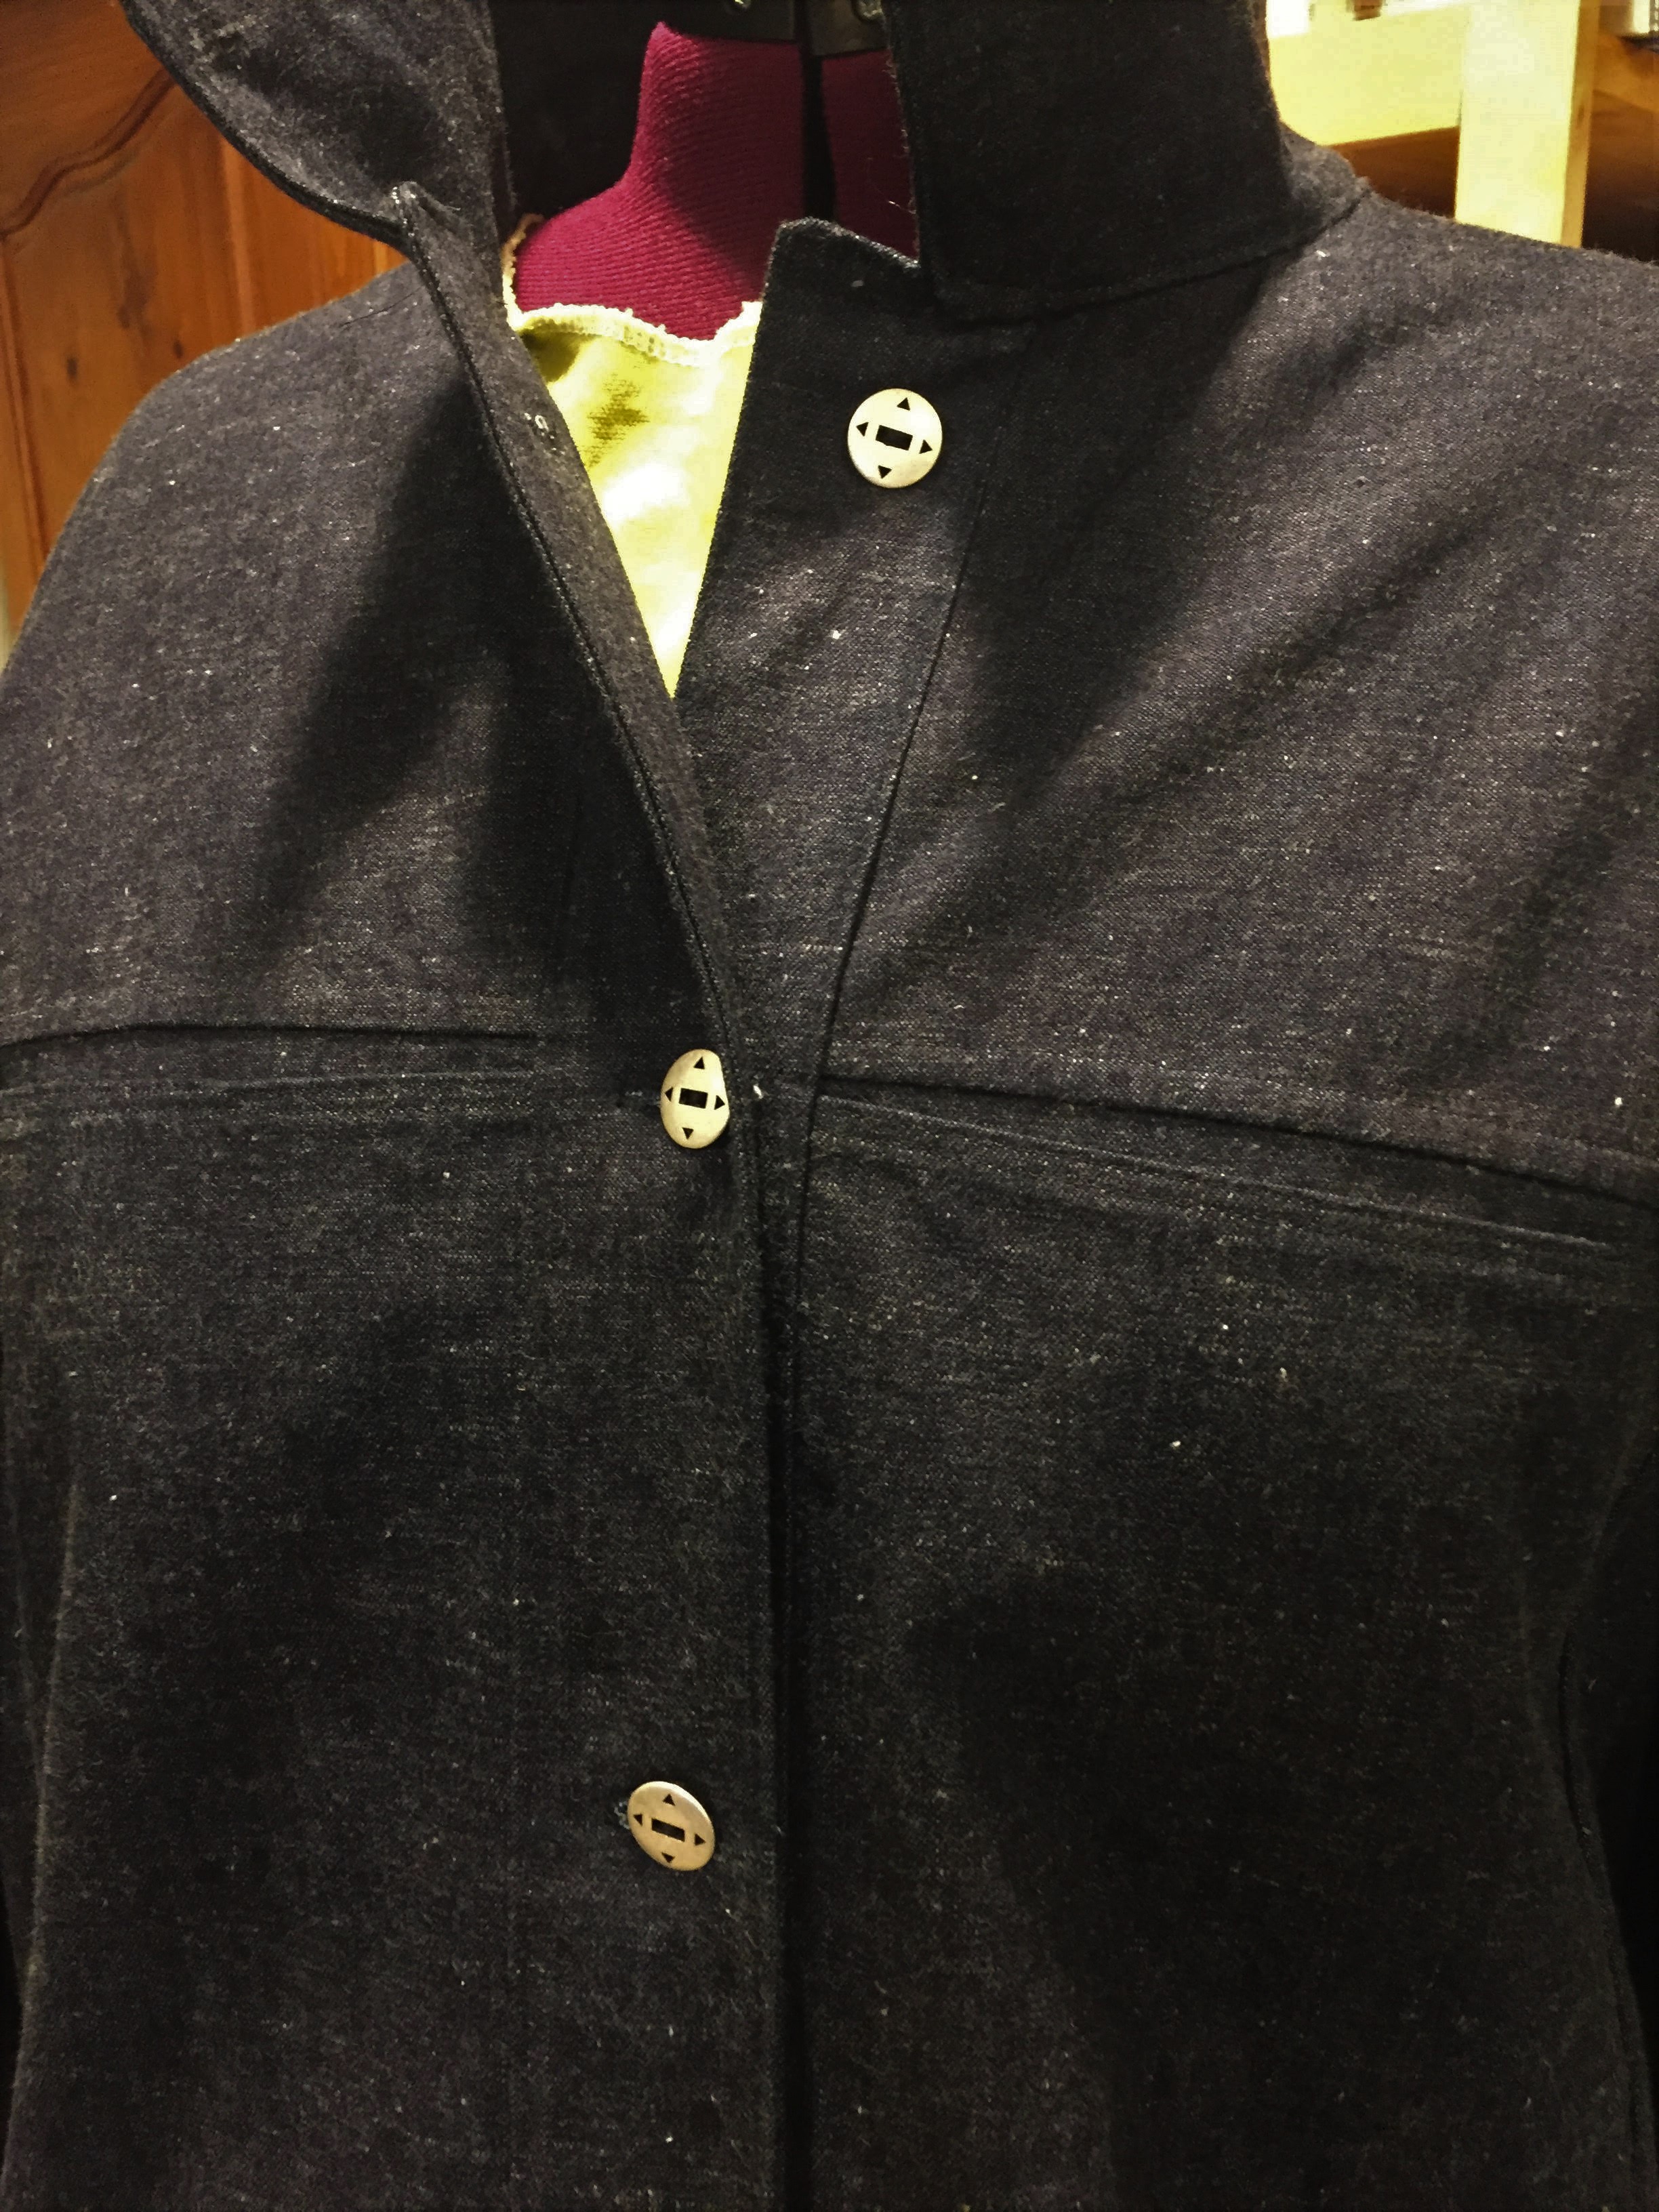
My buttonholes aren’t perfect, and they can stand some improvement, but they’re even and functional so that’s a good start.
My jacket is now finished! I do love the buttons I found online, very reasonably priced, at Britex.
This was a very clever design in many ways. It’s an older Butterick Katherine Tilton pattern.
Jacket #2 will be created from commercial yarns, and handwoven fabrics. I cannot wait!
When I was sewing clothes as a teen, I didn’t do any prep work except prewashing the fabric. I cut out my pattern in my size and away I went, cutting and then sewing whatever it was I was making. Boy, were those the days!
Nowadays, I never know if a pattern will fit, even if “my size”. Maybe it will fit in certain areas and not in others. What’s a seamstress to do? The answer is usually “make a muslin”.
A muslin is a practice run, or a sample of the garment in the size(s) you think you’ll need. You don’t always need to sew the entire garment, perhaps just part of it. It depends on the garment and how much ease is involved.
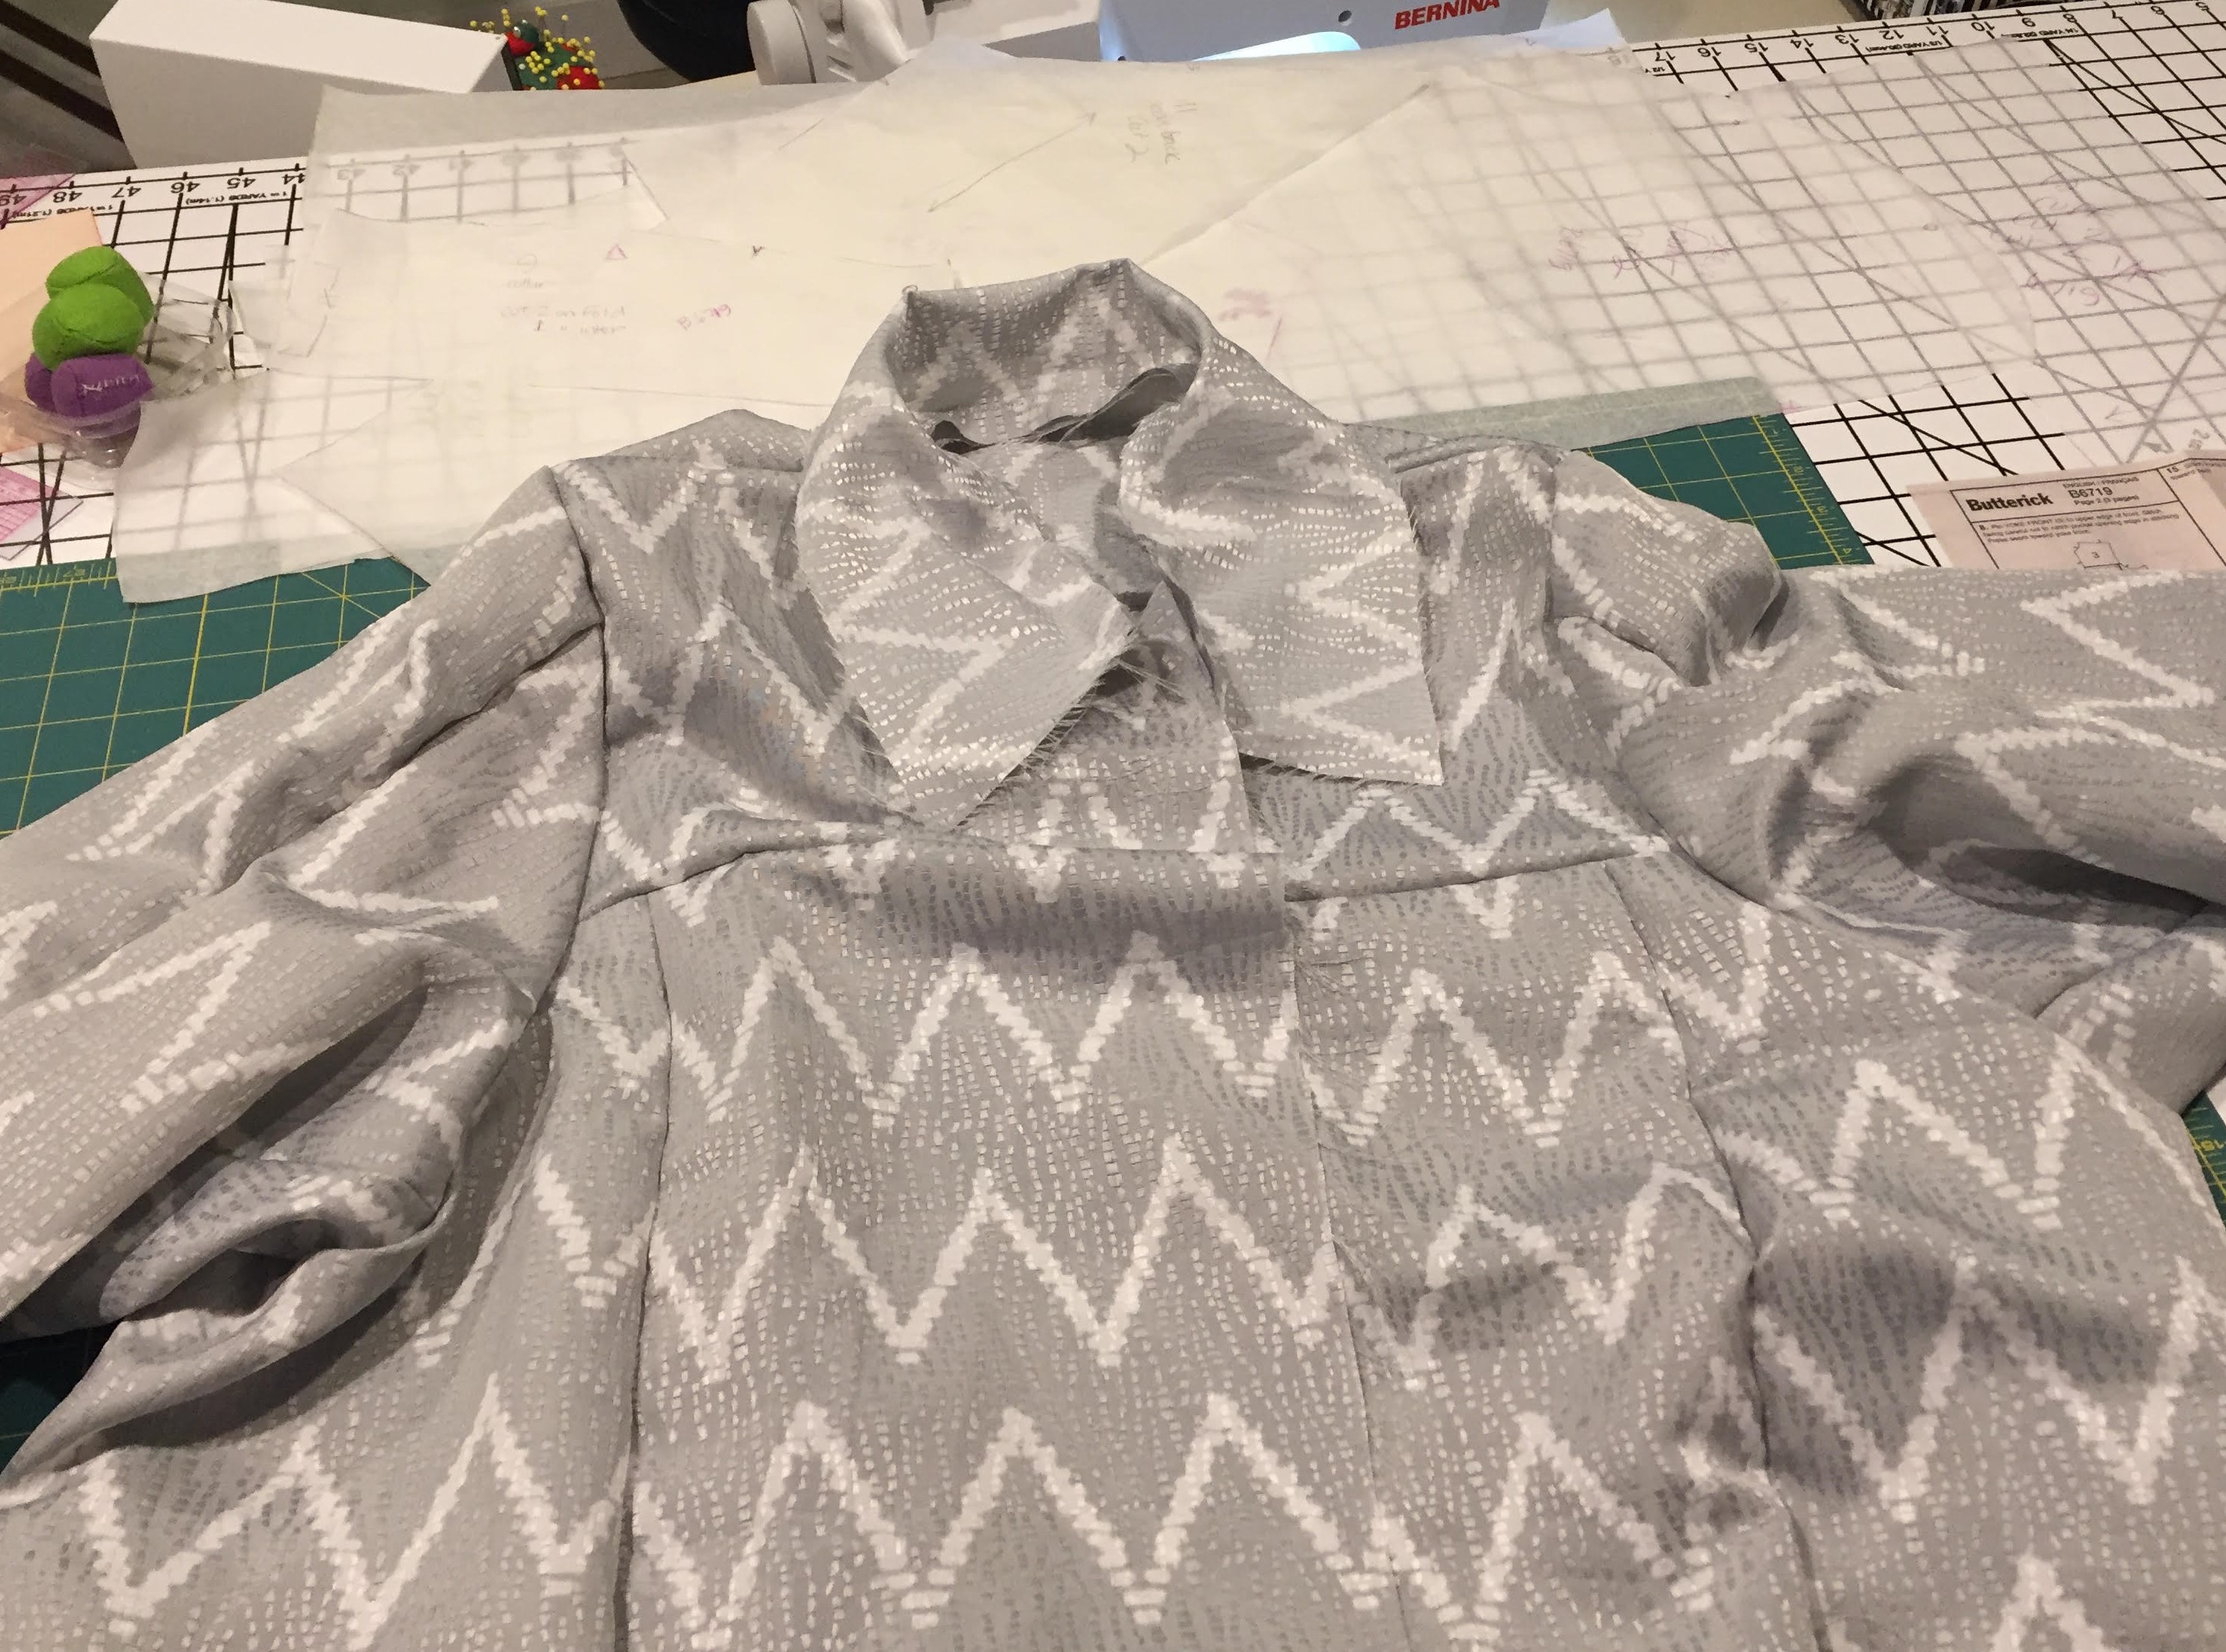
I’m working on a jacket project and I was uncertain about the sizing. Time to cut up and sew a muslin. But first, I graded up the pattern one size, tracing it onto medical exam table paper I bought online.
I couldn’t find any muslin (why muslin? It’s relatively inexpensive woven fabric, perfect for sampling). What to do? Oh yes, I remembered saving the exterior shower curtain I removed from the bathroom in this house when we moved in. I didn’t care for it, so removed it, washed it, and placed it in my “you never know what I may need this for” pile.
Today it became my muslin. Gary was incredulous, “you made a jacket out of a shower curtain?” I must admit it does sound rather funny.
A rumpled muslin out of shower curtain icky polyester stuff
I didn’t finish the entire jacket, I merely needed to check shoulder fit, sleeve fit, and overall length. And, as it turns out, the grading was almost too much. I will trim that back in the first actual jacket I make.
And a bonus: now that I have all my pieces drafted out, I can plot them on graph paper for a more narrow piece of fabric (handwoven!). That will be finished jacket #2, I hope!
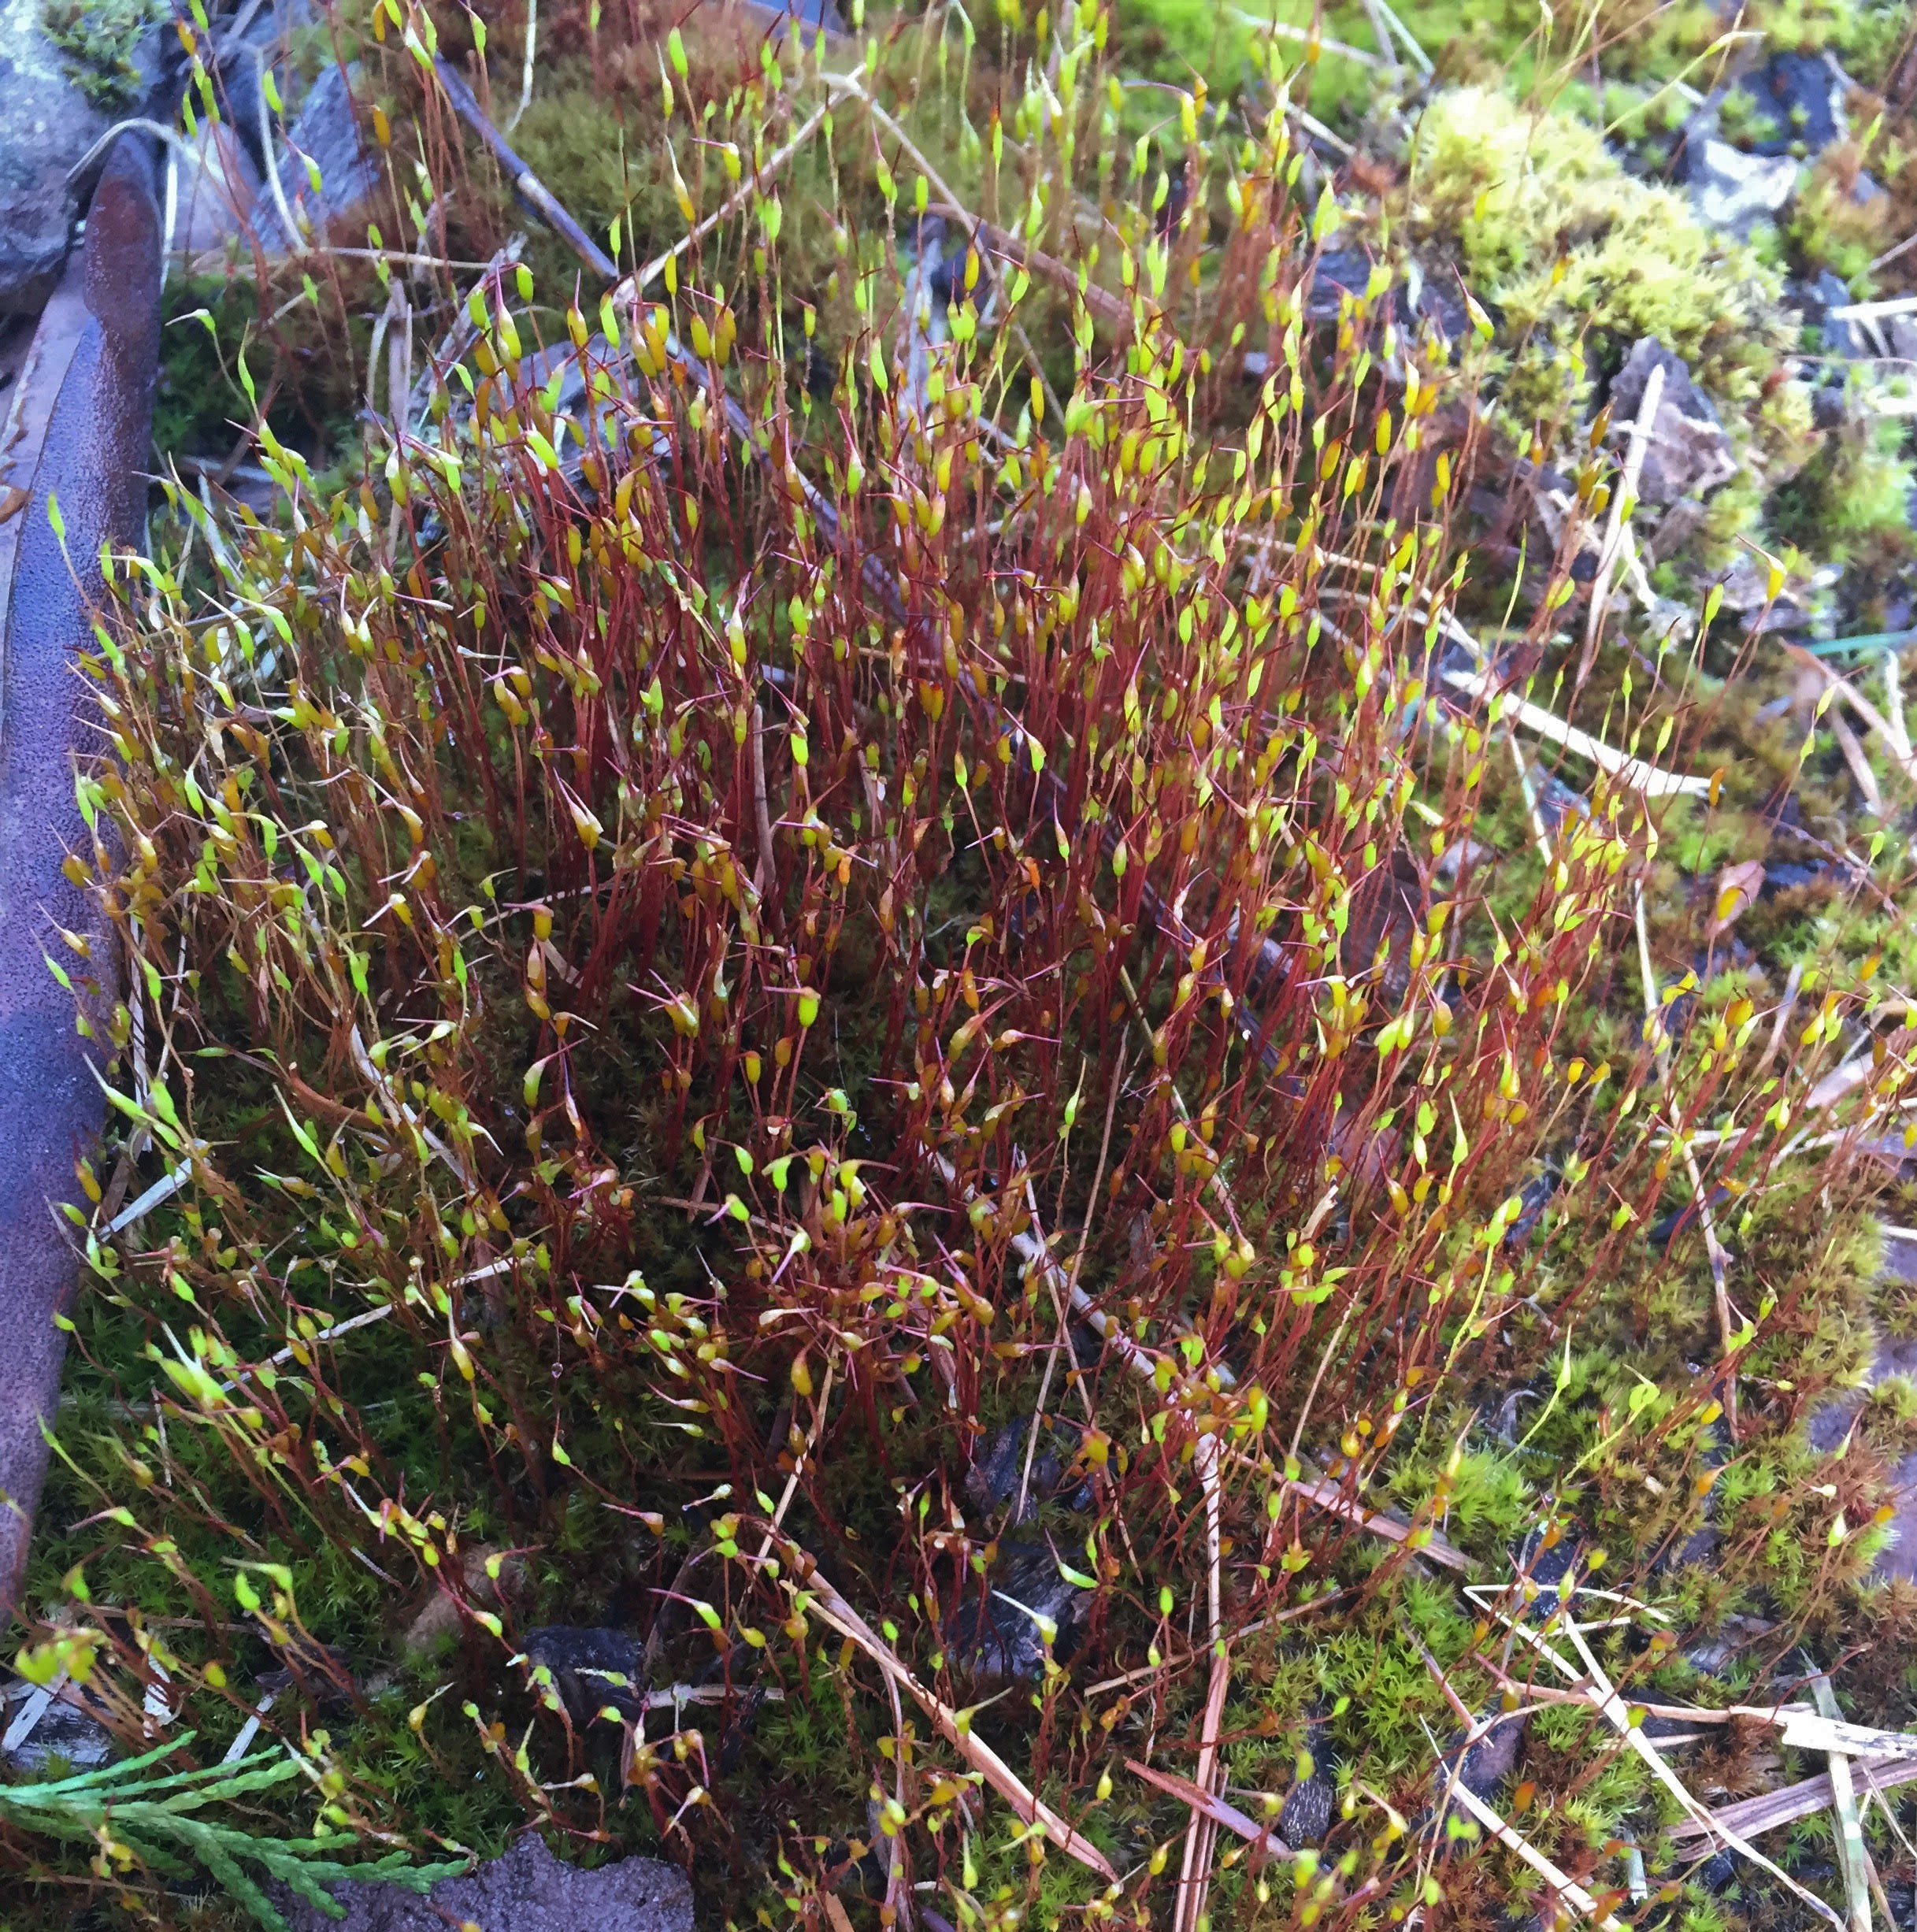
Everyone has their favorite family of colors. Mine tend to be nature based, the colors I see around me when I walk through the woods, or along a beach. Sometimes these colors remind me of far flung places I’ve been fortunate to visit.
I love, love, love the brackish coppery colors, interspersed with flashes of green that I saw on the west coast of Scotland, and on Skye. Those colors, and the memories of that place pull on my heart and mind frequently. I long to return, to soak it in, take more walks and photos. Oh those glorious colors!
Until I can return, I will satisfy my color inspirations to places around me. I live in an area with higher than average rainfall. Everything is green! Not dissimilar to western Scotland, come to think of it.
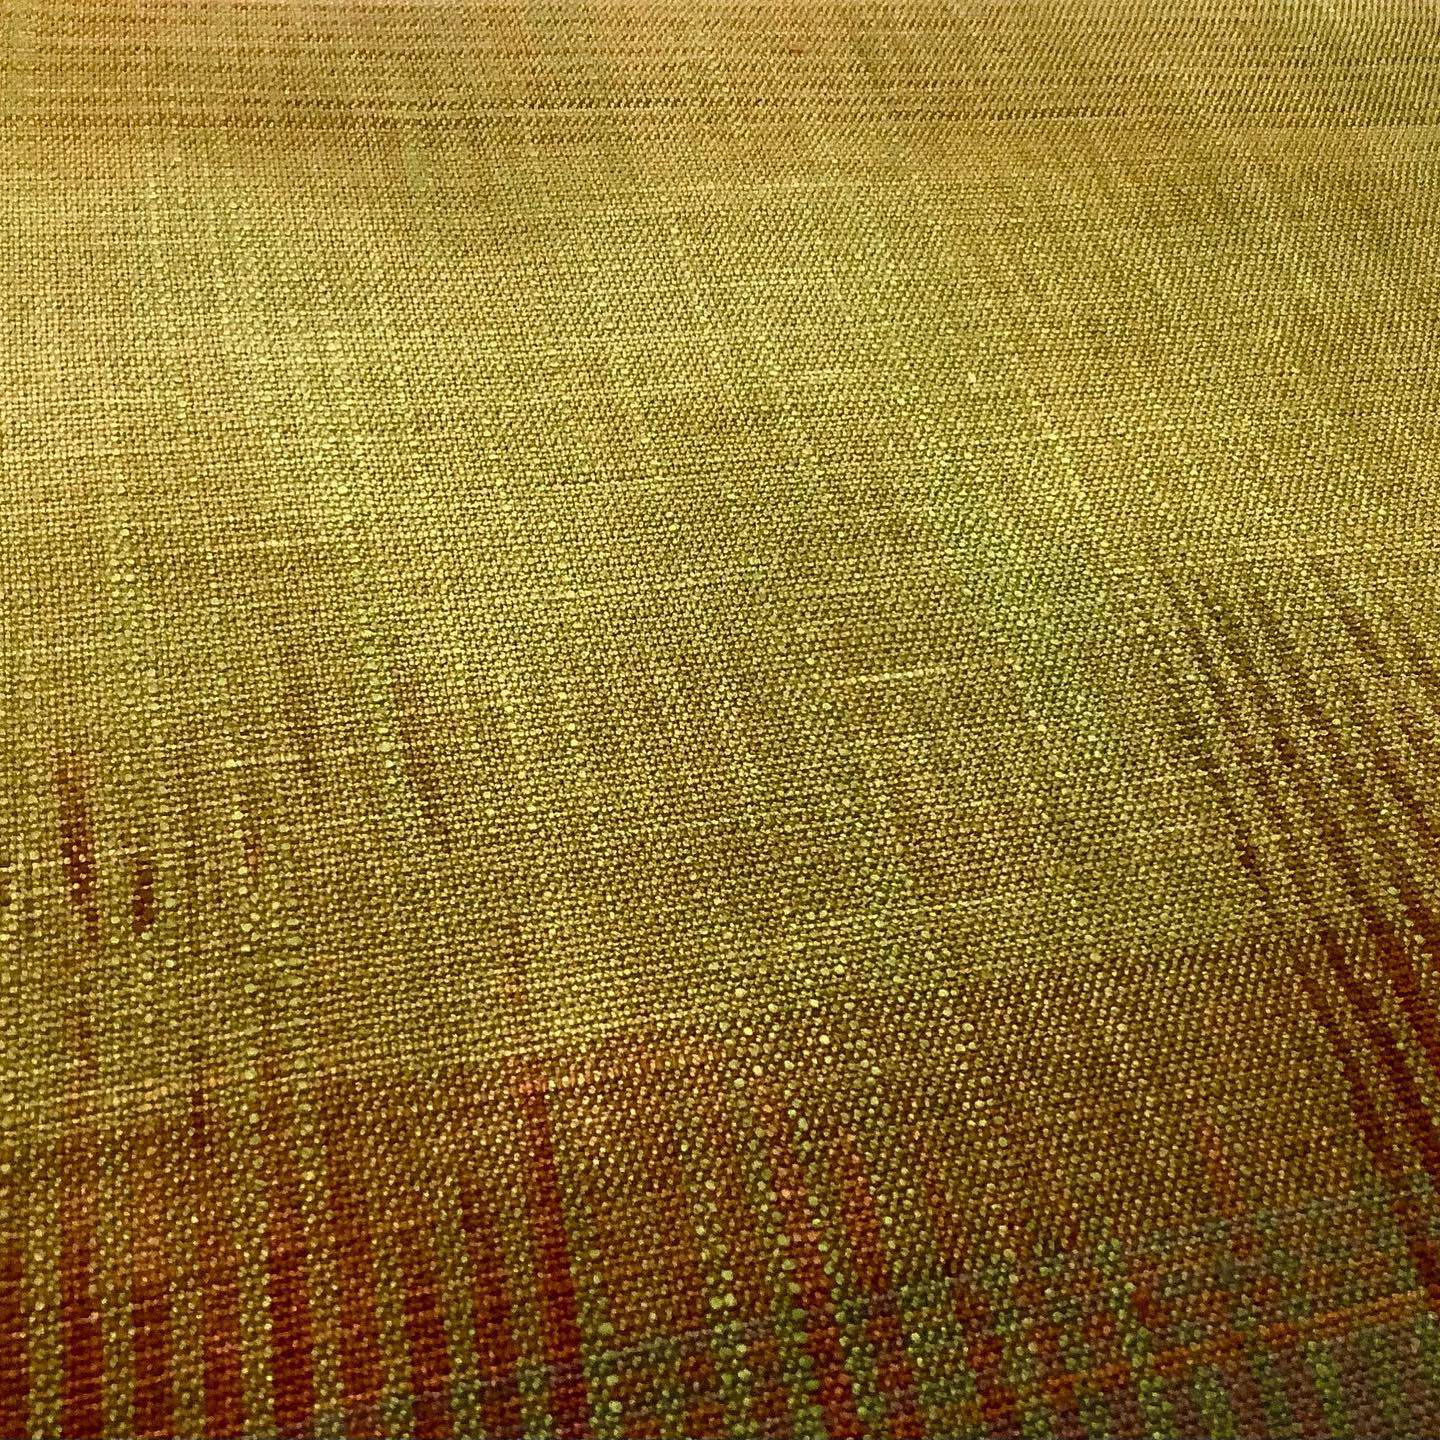
Silk shawl I created this winter while dreaming of Scotland
I’ve been getting up early, 4-4:30 AM and it’s been fairly nice weather, so I went for a long walk. Halfway on my route affords a nice view of both Mt. St. Helens and Mount Rainier. St. Helens was hiding, but Rainier was out in all its glory. Too bad I forgot my good camera! It was a peaceful 2 miles, giving my mind time to wander…..and a great start to my day.
I learned brioche knitting about five years ago when I took a wonderful class at The Black Sheep Gathering from J.C. Briar. I managed to knit one shawl and then I moved on. I was reveling in the amount of weaving time that retirement afforded me. I wasn’t knitting much at that time in my life.
Fast forward to this week when I found a shawl pattern that reached out through my iPad and grabbed my interest. I quickly purchased and downloaded the pattern. The linear designs that alternated between horizontal and vertical lines did me in. I’m not much for circles, but lines that run in various directions? Count me in.
I began reading the pattern and realized that at least part of it is knit using brioche stitches. Okay, I knew brioche, no big deal.
Until I realized I honestly didn’t. Know brioche stitches. I’d completely forgotten more than I knew.
I dug out a couple of worsted weight yarns to sample and refresh my brain about brioche knitting. Specifically two color brioche knitting. I found a couple of websites with fairly good tutorials and began swatching. And ripping. And re-swatching and re-ripping. I was attempting this in the evening, not my most productive time.
Fast forward to this morning. I picked up my swatch and observed it much closer. And then I knew, in order to be successful with brioche knitting, I’ve got to treat it like any other knitting. I have to learn how to read it. And there it was. I continued my little swatch without anymore ripping or line by line instruction.
I’m feeling a bit smug right now. I’ll let you know if this has truly sunk in once I begin to knit this new shawl pattern.
But first the dyeing and the spinning of the yarn for it!
According to the date entries, I’ve not blogged in over 4 years! Much has changed during that time, I’ve moved twice (!), traveled to some incredible places, and have dyed and woven many pieces.
I’m going to try this blogging again, making no promises to regular updates. Let’s just see what happens!
Currently on the loom: hand dyed cotton for a wild experiment I put together in my head. Stay tuned! I’ve just put the warp bouts on the lease sticks and tied them in the loom.
Currently in the dyepot: nothing, but I may dye some Cheviot roving sometime this next week. Also need to dye small samples of wool yarn using my paltry collection of red corts.
Currently on the needes: Legends of the Shetland Seas. I’m eyeballing a fabulous looking brioche shawl pattern that I will spin for: Beaubourg shawl.
And I’ve changed my domain name for this blog as I’m no longer active in the Pygora world and wished to discontinue “rfpygora”.
On the advice of a good fiberista friend, I signed up for a mushroom dyeing class last fall. The class was taught by Alissa Allen of Mycopigments. (Thanks for the hot tip, Erin). I’ve learned much over the years with regards to natural dyeing, but I was clueless about mushrooms. We harvested morels in North Idaho when I was a child, but dye mushrooms? Who knew?!
Happily the class included a cheat sheet of dye mushroom species for my area. The botanist in me was looking for specific ecosystem info to aid in locating. Alas, the class was not helpful to me in that regard. So what to do? A bit of research is always helpful…..I made notes on my cheat sheet and read as much as I could find. There is a great resource on FB, a group for mushroom and lichen dyers. Even with all of this effort, it took awhile to locate dye mushrooms!
Also? Experimenting helped. I found other mushrooms that give dye that were not listed on my cheat sheet. I put together a mushroom field kit using an old metal lunchbox. It contains everything I need to test in the field (except the wee stove and butane cartridges). I was bit by mushroom dyeing. Hard. I love walking through the woods and this gave me another excuse to do so.
I figure it will take a few seasons to locate my own favorite mushroom locations. Mushroomers have such things and keep this info secret!
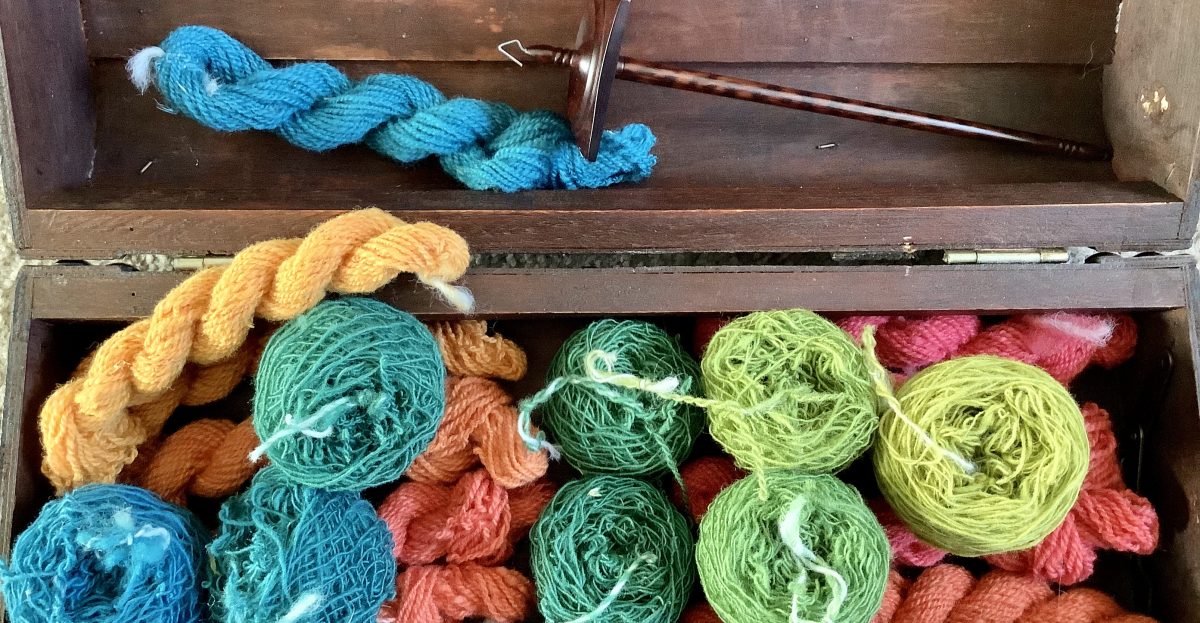
Here is my dyed wool collection for this year. I never did locate the red corts, danged it. Something for next year. My plan is to spin singles and weave this in a color and weave, herringbone twill fabric for sewing a bag of some sort.